Flight Risk Transformation Pt 1 – Big Long Post
It’s December. It’s cold. The lake is void of sailing vessels and the wind is howling across the sorry lake. Meanwhile, back in the cozy confines of the Outer Harbour Marina hangar number 2 – Flight Risk is enjoying the bellowing blasts from the sky heaters. Her days as Flight Risk are numbered. I removed the last remnants of her name, a mac tack sticky stuck by the VHF with her MMSI and hailing patter for quick access. Gone. Gone are the polars from Cayo Loco from what must be 10 – 15 years ago. Gone is the location diagram of extinguishers and sea-cocks. Last to go will be her name emblazoned on the transom scoop. That should be sometime next week. In the mean time there is so much to do!!!
Ok – so micro documentary here.
Monday December 9
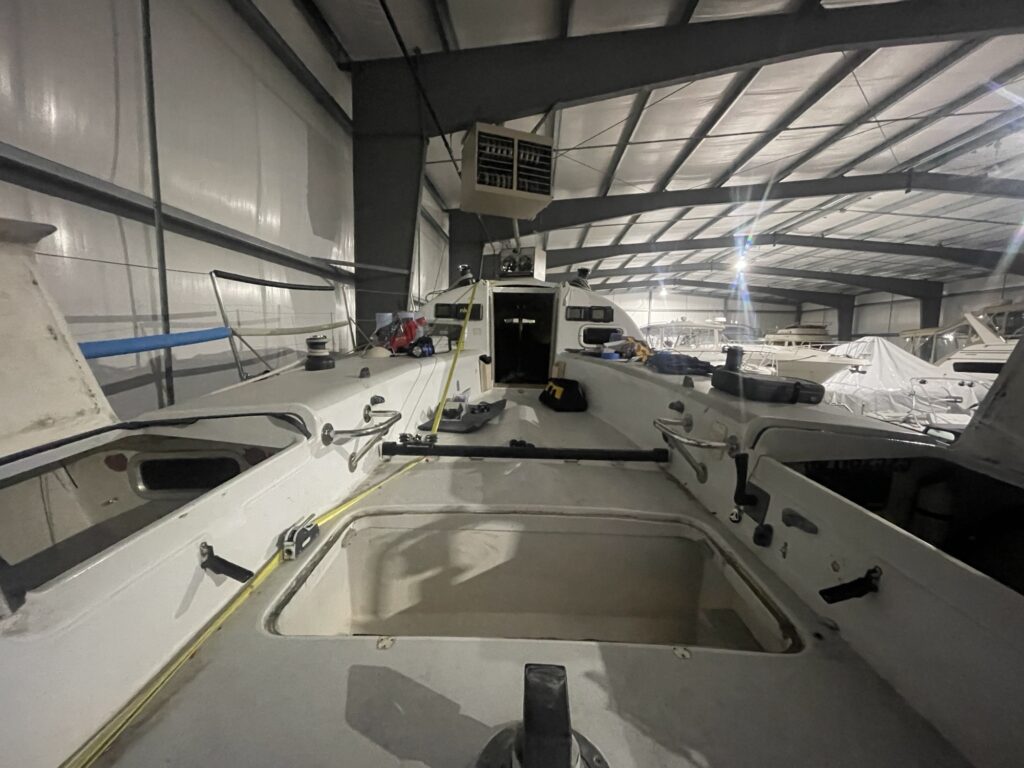
Goal today was to remove the anchor lid as is seems to be rotting, lift off the tiller to heighten and remove the bent stanchions to hopefully hand off to Dave the tiller repair guy Wednesday in Oakville which is half way to wherever his shop is. The anchor lid is wet and rotten inside. I put a jack line across the boat to have something to clip into as she is pretty high up.
Need to add VHF connector to connect AIS antenna.
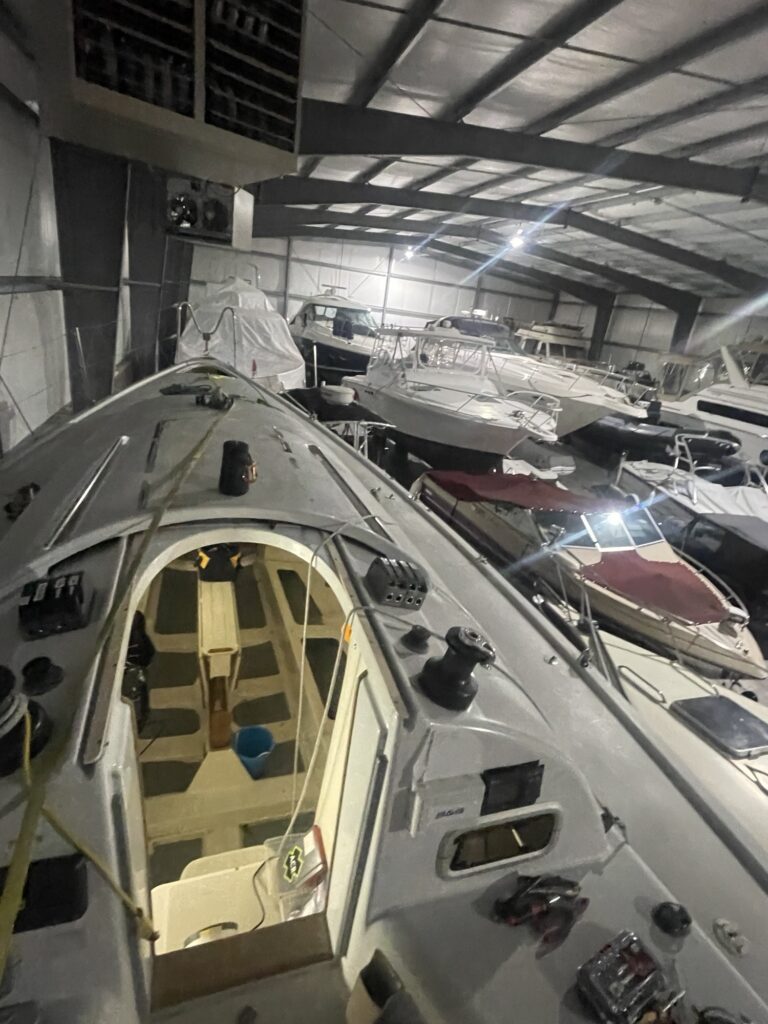
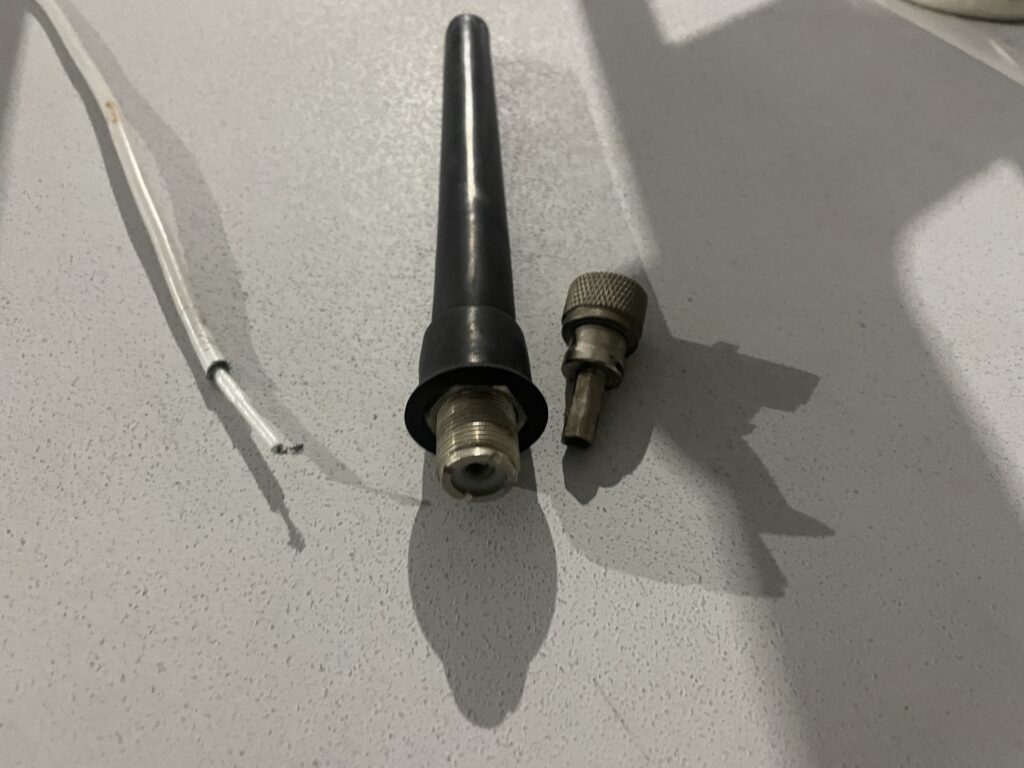
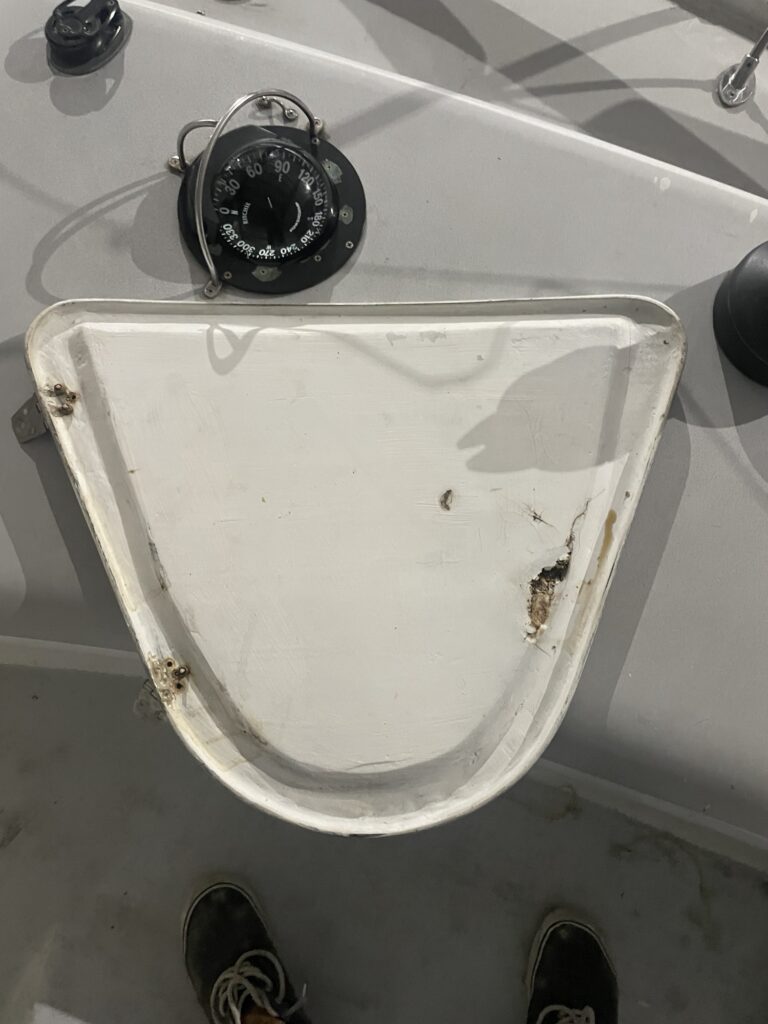
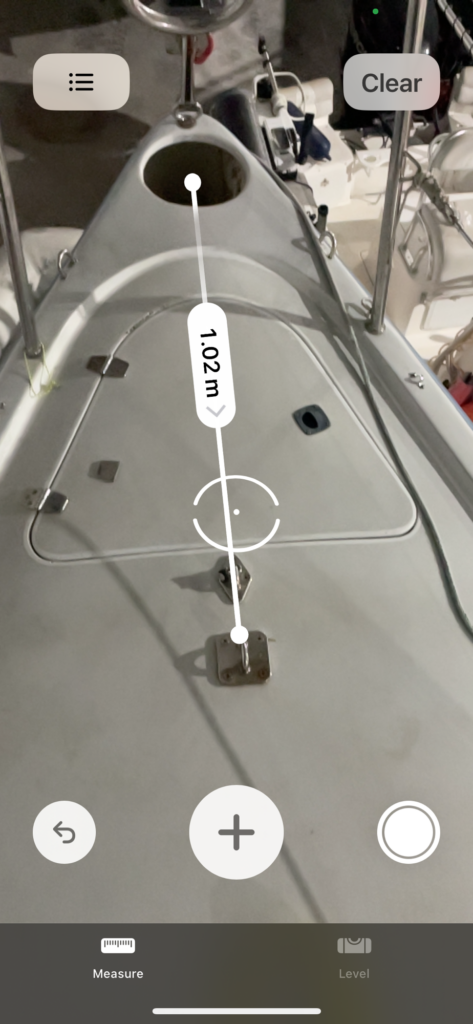
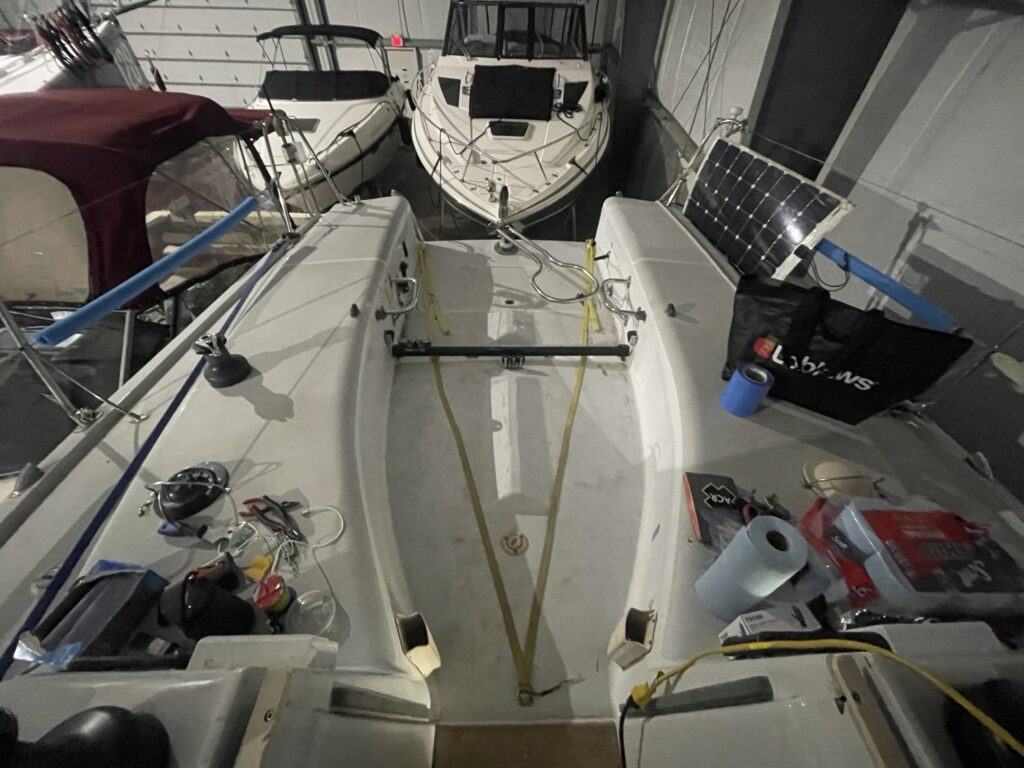
Good night!
Wednesday December 11
6:45 – Clandestine meeting at Oakville ship yard. It’s dark, raining and there is a glow beneath the buzzing street lamp when I introduce myself to three shadowy figures who might be, Dave. Neither are, Dave. I retreat back to the warmth of my car. A door to the weeping hangar is ajar. There’s light silhouetting the doorway – I open the door to a burst of light. “Is Dave around?” “I’m Dave, a much younger man than I expected answers. I calibrate quickly and beckon him back to the open trunk of my car and show him my set of stanchions still connected to the life lines. They were hard fastened at both ends so I figured I’d leave it up to him to deal with hoping I could reuse the lifelines somehow. “It’s no problem”, he said. He can ‘re-suage’ (that’s a word) the lines after fixing the two grossly bent stanchions that I think were the root cause of John’s now missing teeth. John is the previous owner of Flight Risk who sailed her to some promenant placement in the Bermuda 1-2 and the Transpac .
We then discuss the need for some more accurate measurements. That will dictate how much the tiller gets modified. I wish him Happy Holidays as he returns to the buzz of the shop and I to the warmth of the car.
We’ll meet again in the spring…
Thursday December 12
Erika and Ivan – Thank you.
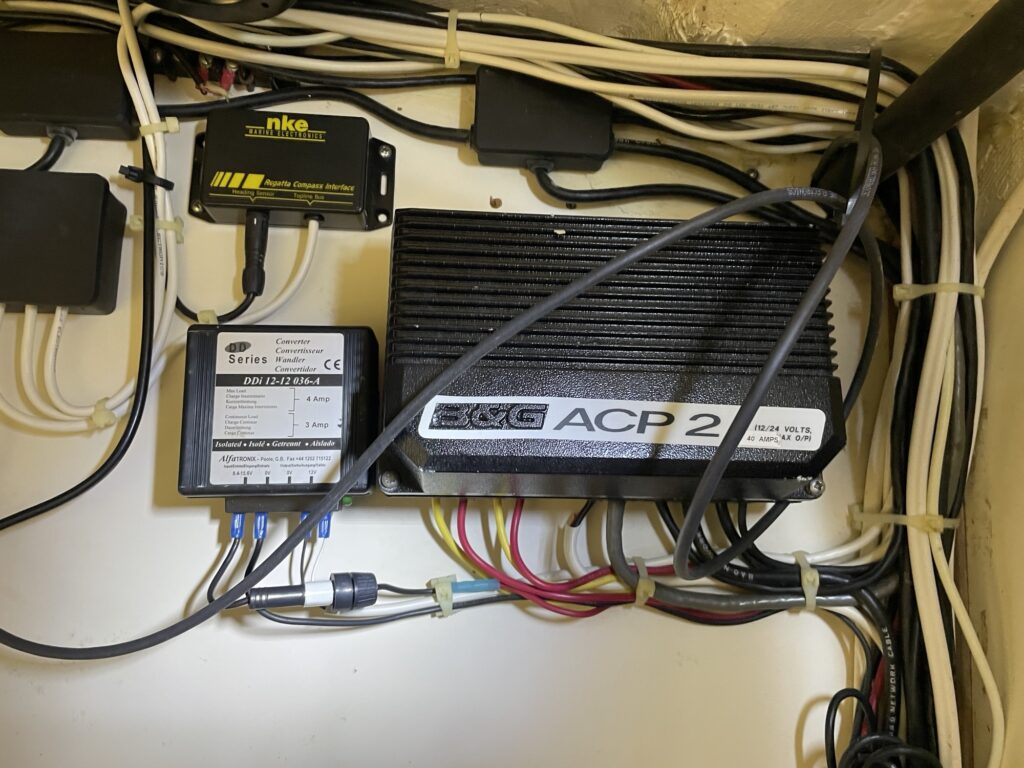
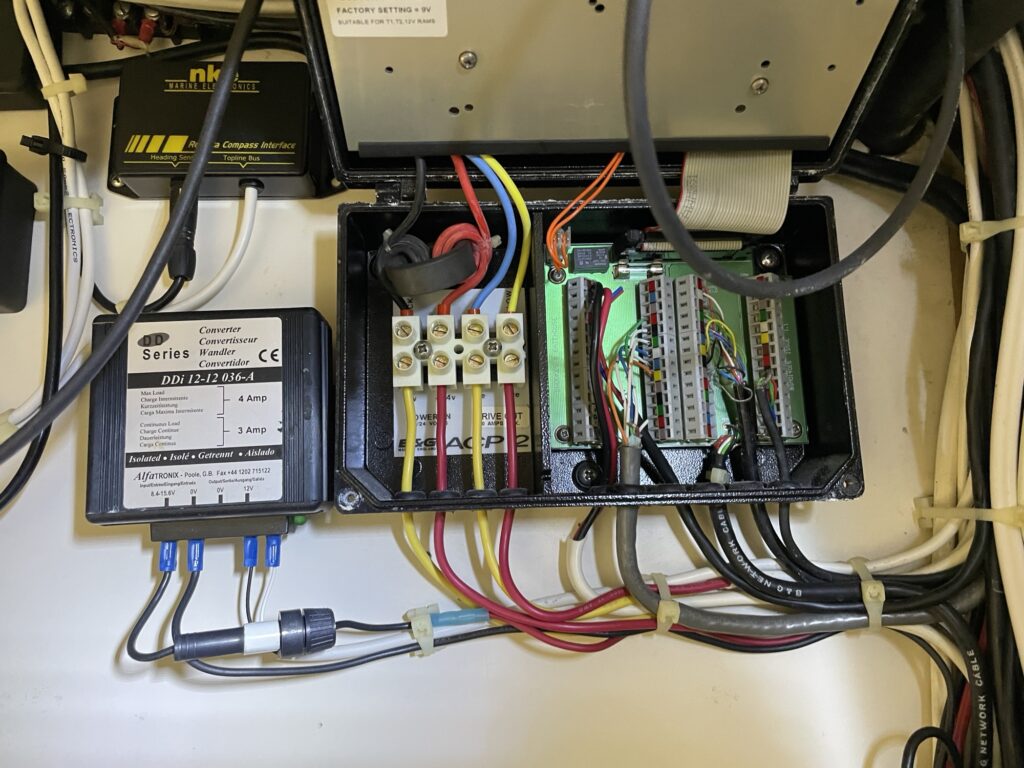
B&G – gone but not forgotten
Lids off
Grinder – how to fix the disk
Foam – stinky go home, and what’s it doing there anyway?
Switches in ditches
Labels for the future
Beams below
Speakers are sleepers
Time well spent
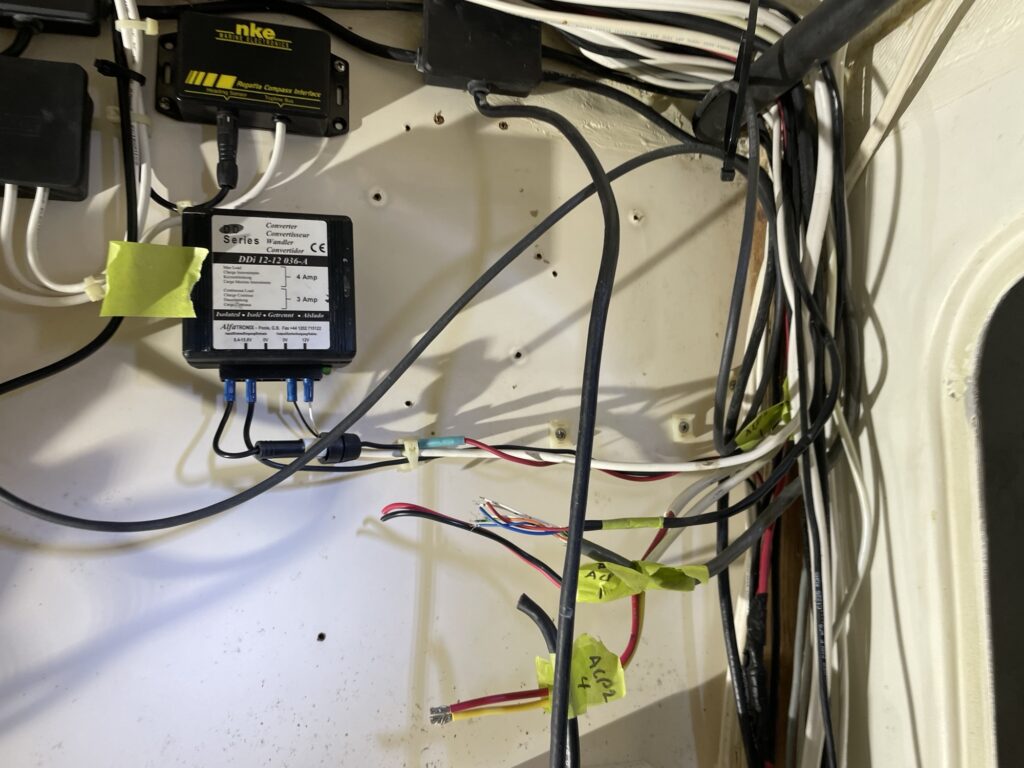
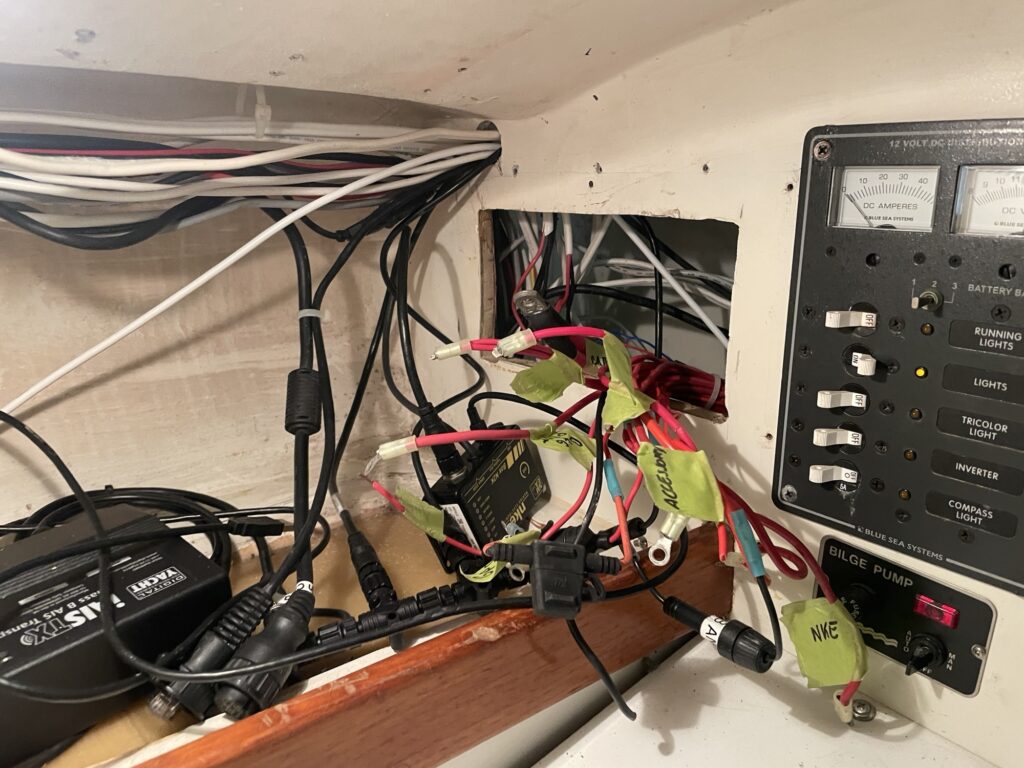
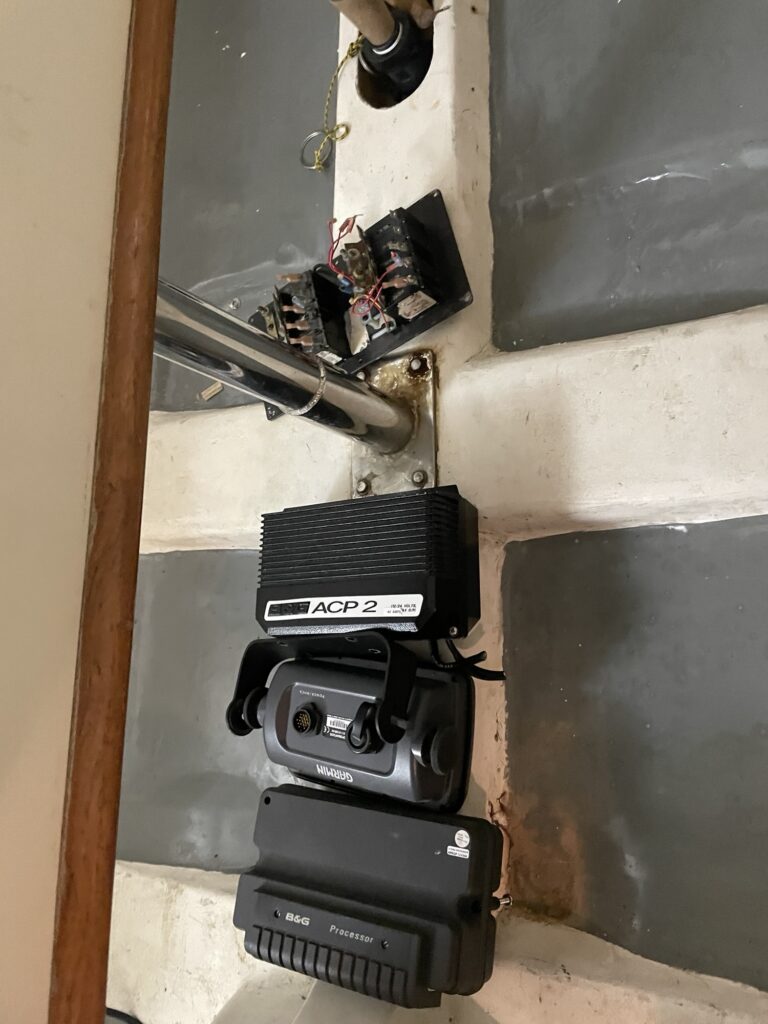
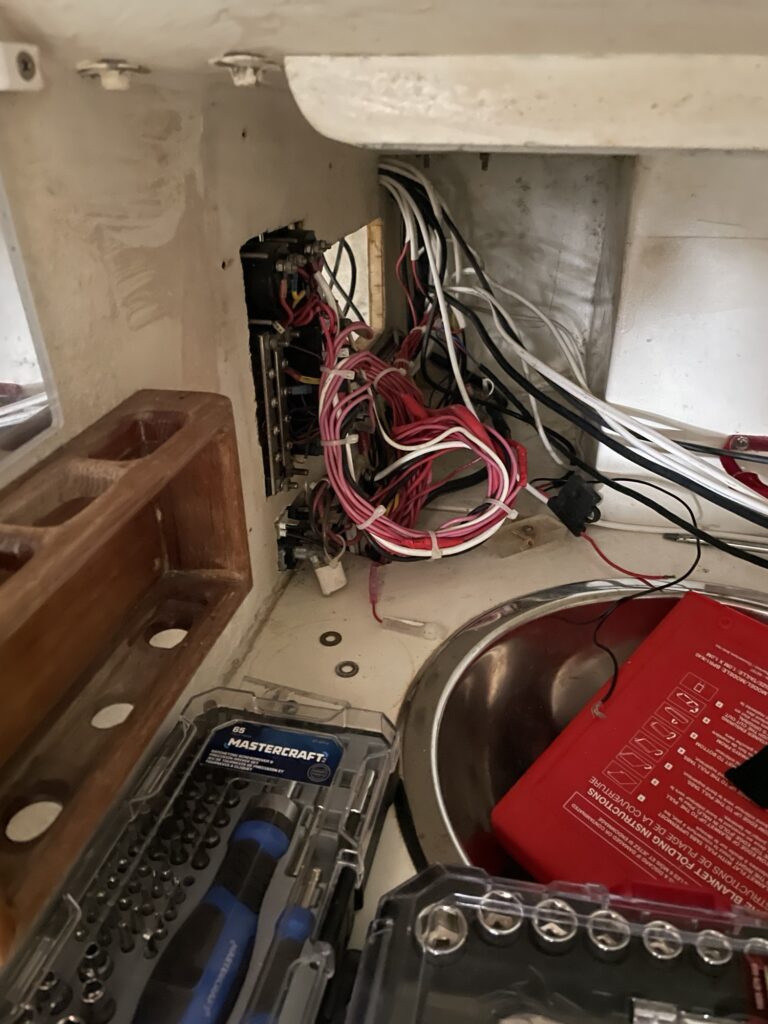
Saturday December 14
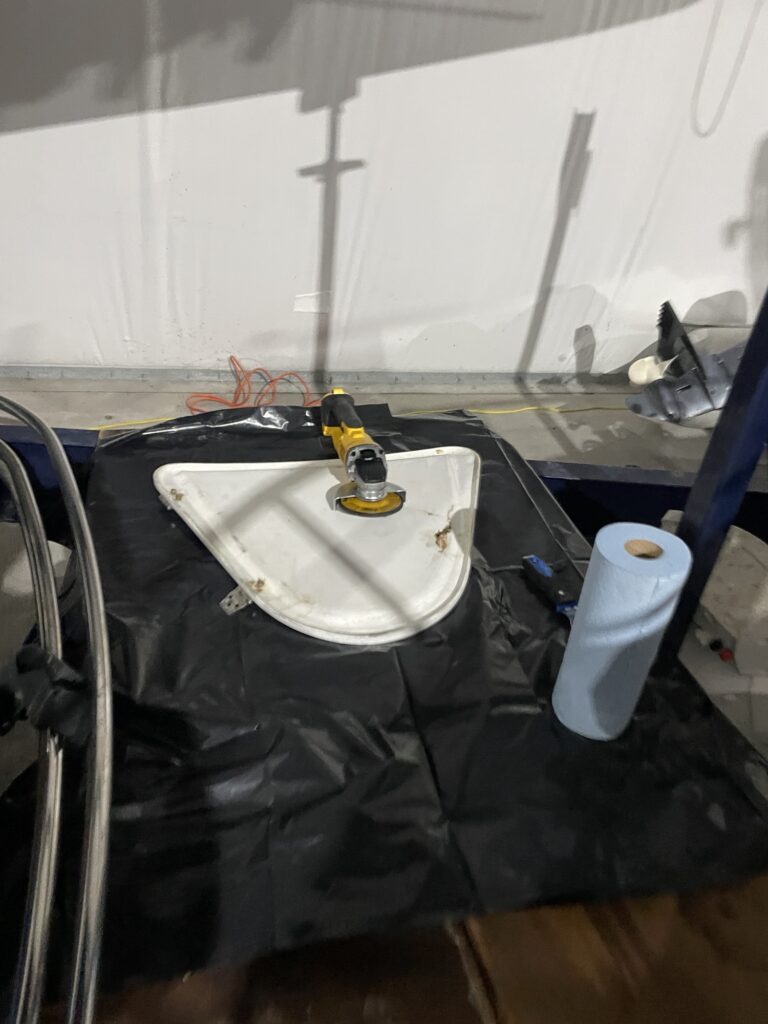
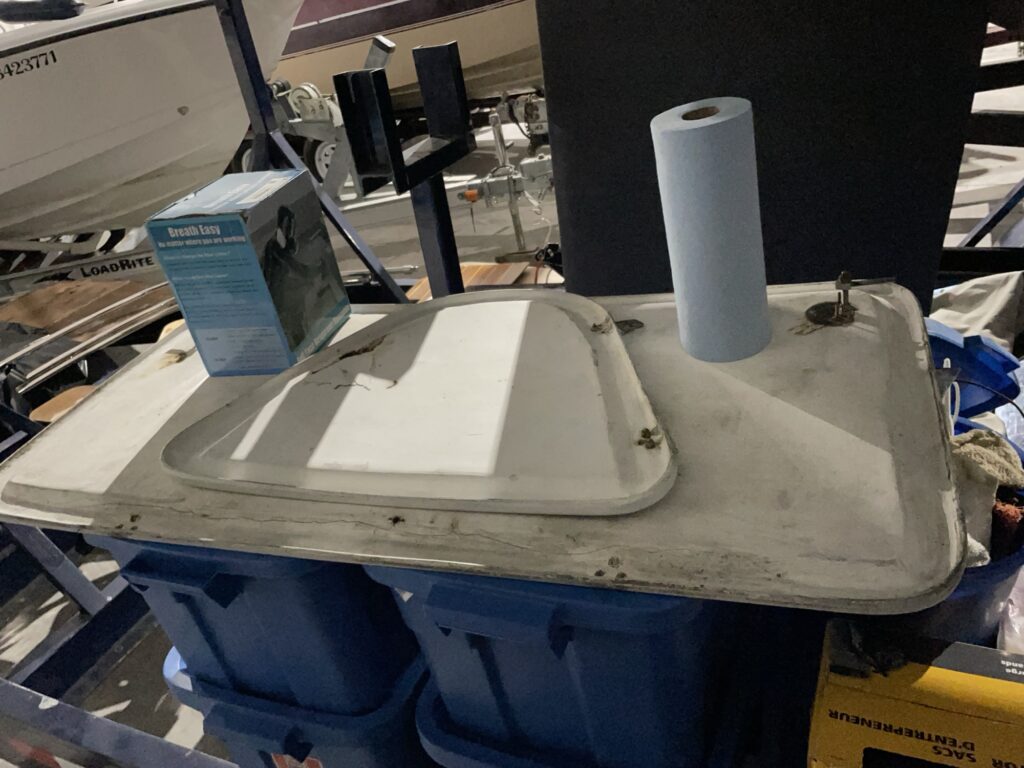
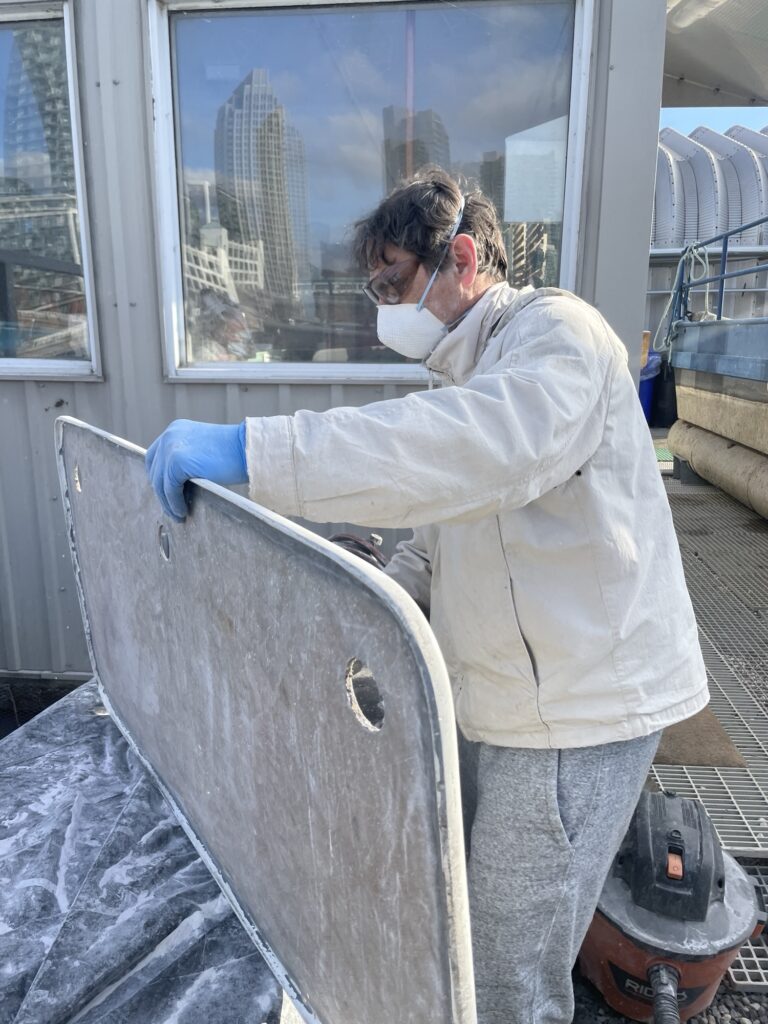
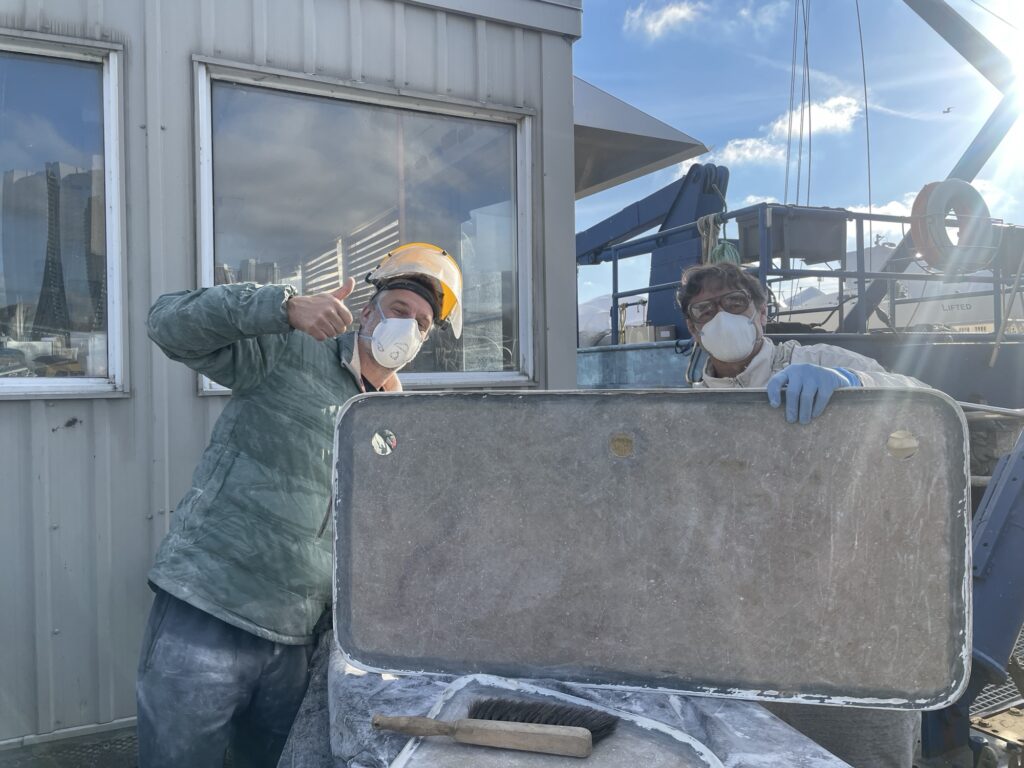
Big grind day! Grabbed both the deck lids from Flight Risk alone with a box of tools and another box of fiberglass and epoxy stuff. Of across town to NYC to meet up with Ivan and Erika. They were waiting by the workshop. The heater was on and we made a plan. Clean out the rot from the anchor and life raft lids and replace with foam core.
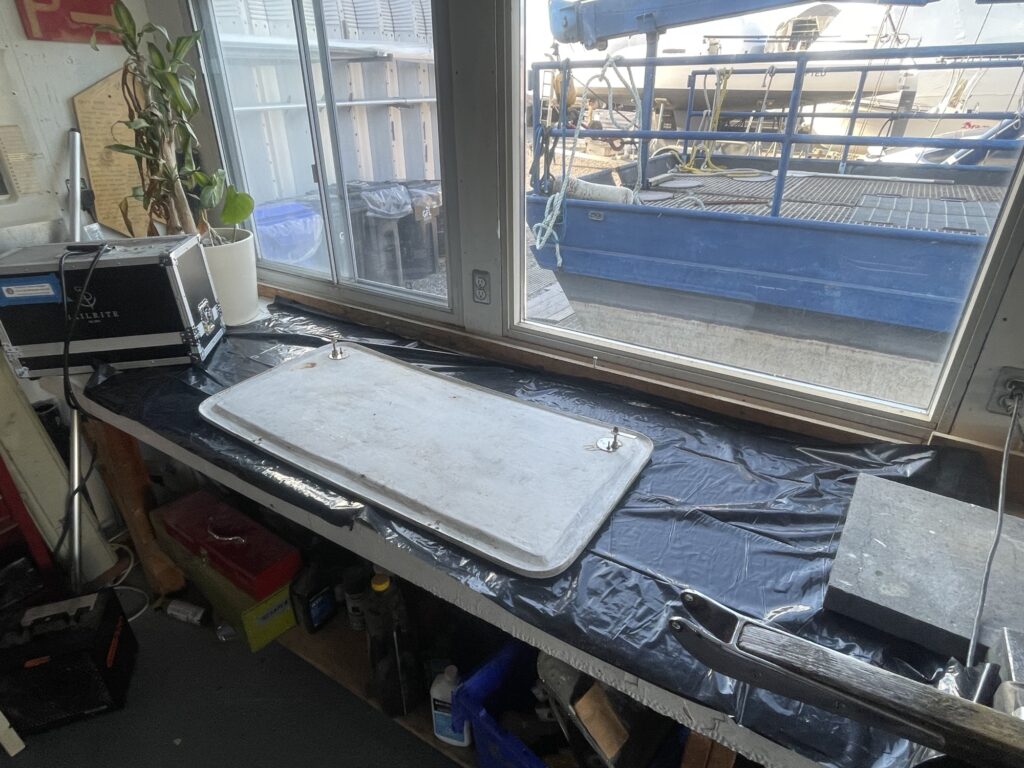
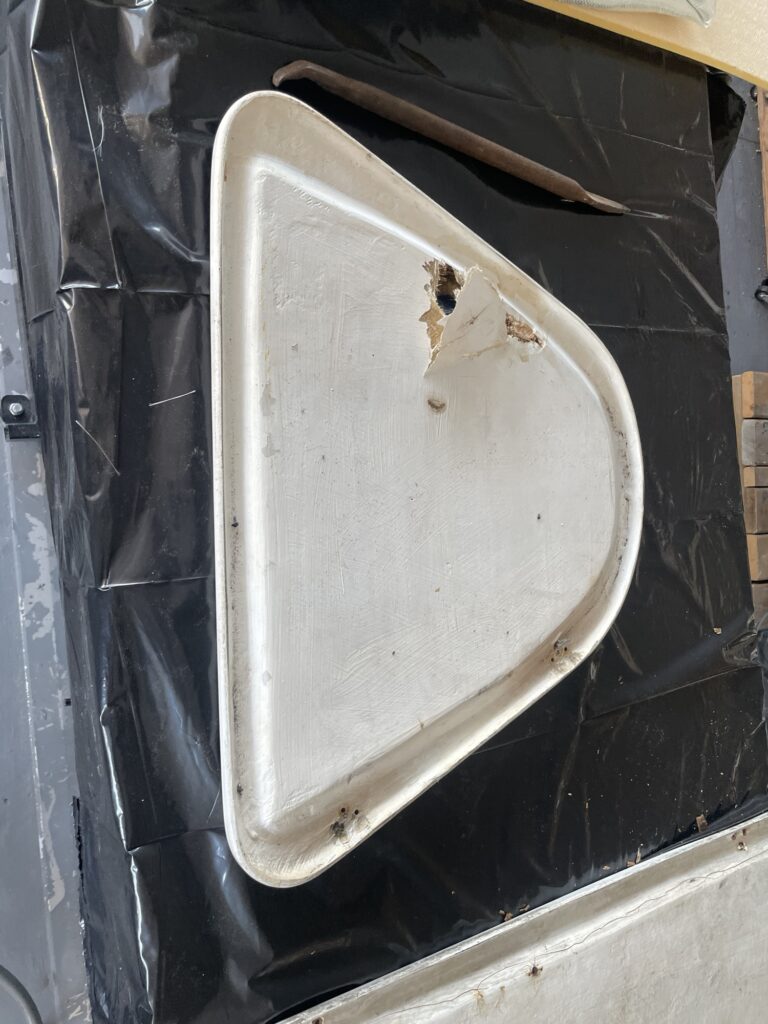
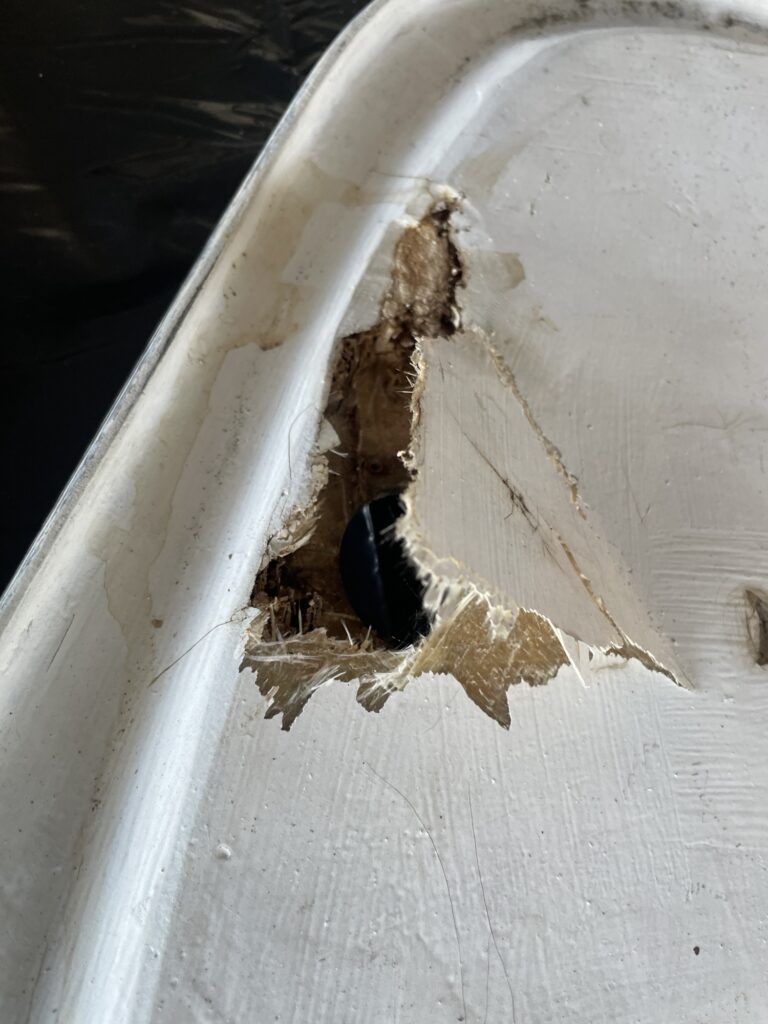
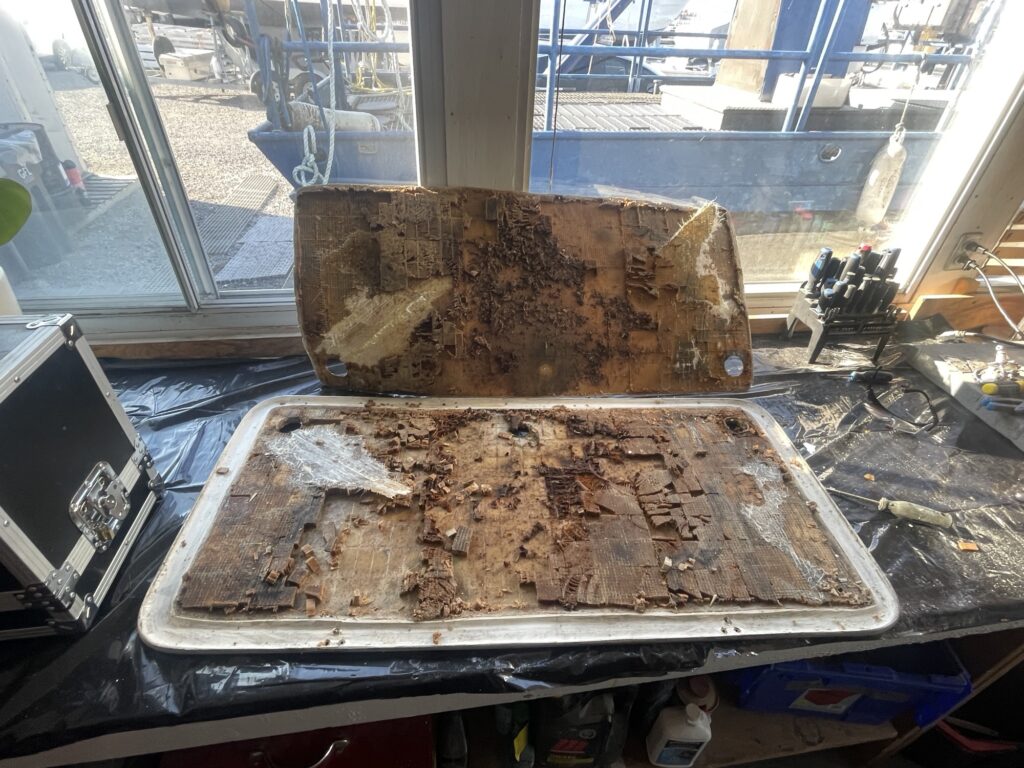
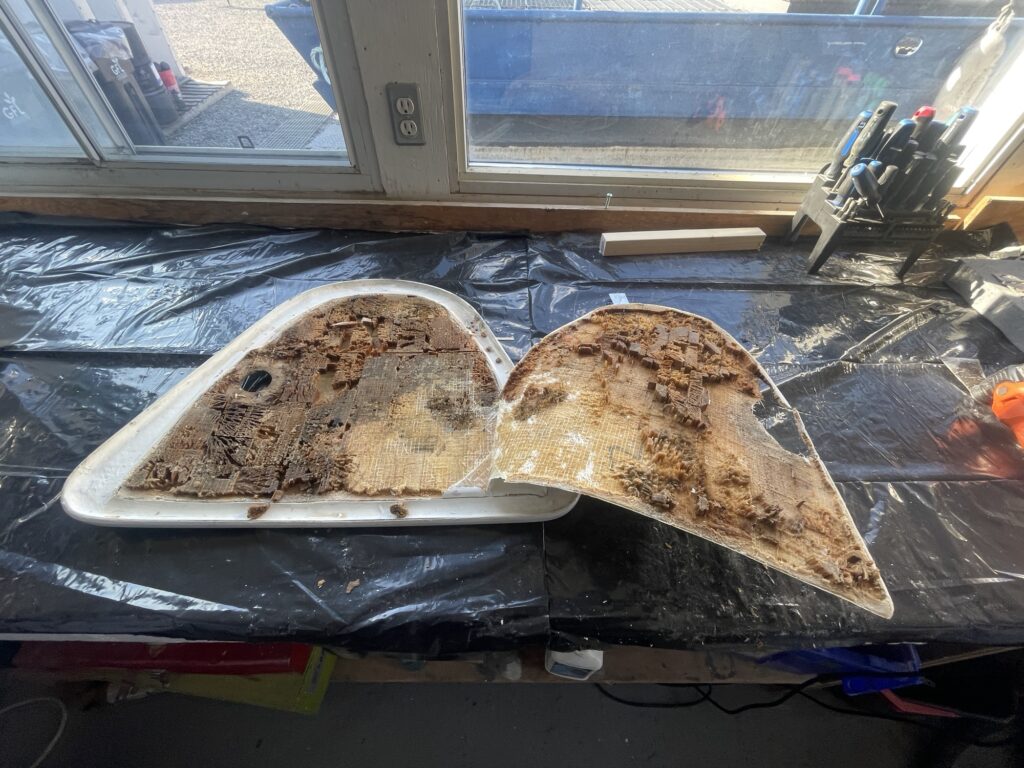
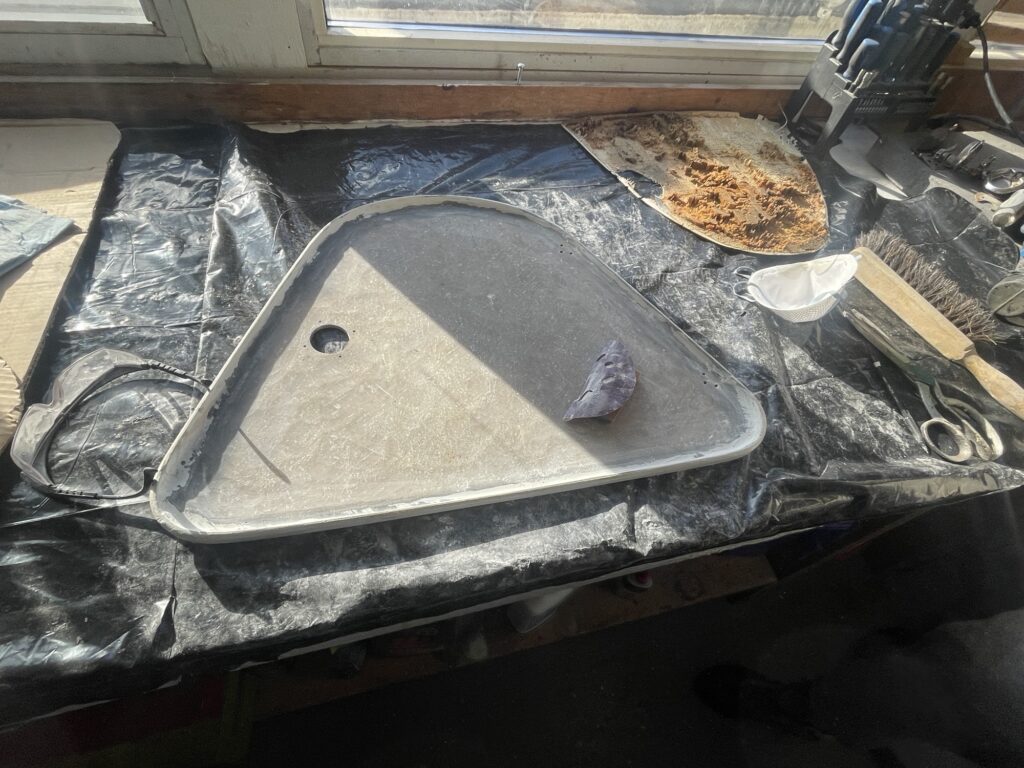
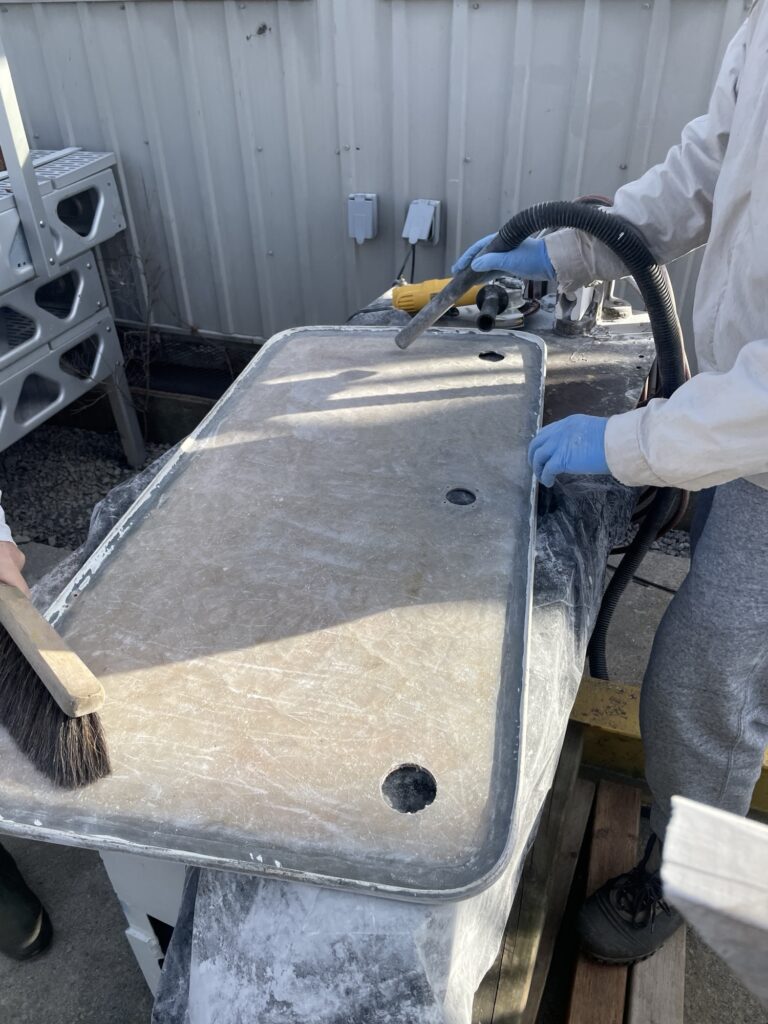
Luckily Ivan had an oscillating multitool which I had non idea about. It cut the glass quick and clean revealing some rather stinky rotten balsa core. You could squeeze water out of the decaying cubed particles. Some chiseling and power grinding after some struggle removing the hard ware and somehow it was 4 o’clock. We grabbed some burgers and chowder from the club and, after some serious consideration, we packed up and cleaned up our mess in the shop. I wanted to at least glass the anchor hatch but luckily I ran into Brain at the club who highlighted the process of thinking through how to epoxy the hardware so this rotting scene did not happen again. We decided the glassworks should wait for another day.
Monday December 16
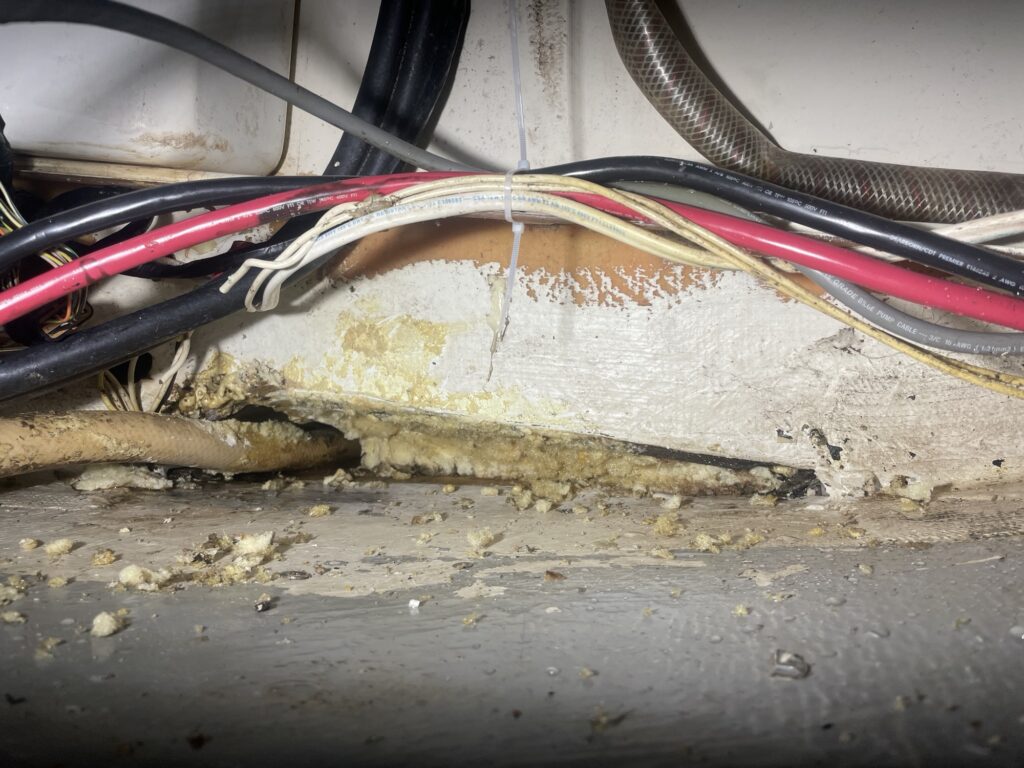
Today was more of a see what happens type of jam. Got to the boat in the pouring rain and immediately set out to clear out the rest of the water soaked flotation foam lurking under the head floor. It was soaking wet and pretty stinky.
I got most of it out and thought that there must be more water under the head floor. Armed with my new oscillating multitool, I took out a patch. Dry as a bone. Where did that water come from? Is that why she lists to the starboard side? is there a well of water somewhere?
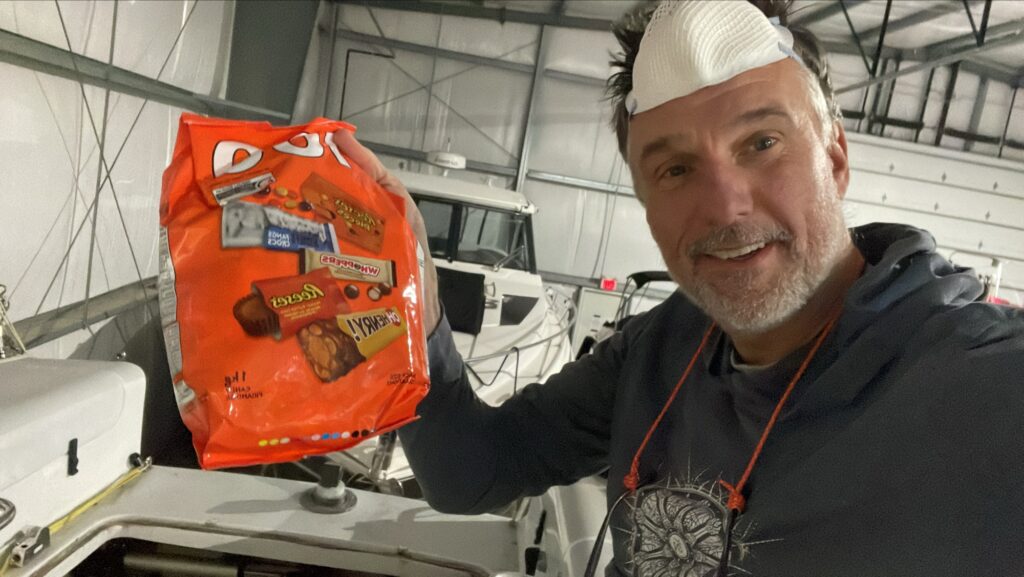
Ericka and Ivan got some treats for the boat – yum. I was digging the multitool scene and took out the awkward wood shelf and started on cutting through the glass ballast top on the stb side. I totally forgot to call the FB guy. I rang him up and we have a FaceTime jam discussing pilots, open source marine software and creating telemetry networks on board with multiplexers. 🙌🏻
Wound up at Supreme Taste with my Dad for a brok and cluck session. 🦆
Tuesday December 17
Well today’s was a bit random in the boat. Focusing was on cutting out the fiberglass lid on the stb water ballast so I could inspect for any water. The stuff is hard to cut! I managed to get a 3×8 inch opening and to my surprise just a bit of left over water down below.
After that I removed the rest of the B&G studs and related wires from the aft while hot air drying out the space left from the rest of the expanding foam down under the head floor. It also removed the mystery box that I think was the B&G pilot sensor. I cut a bunch of wires hoping nothing necessary. I spent a lot of time just staring at everything assessing g all the work to do and in what order I should tackle it.
Next up in order of safety first, water leaks and electronics:
- Examine stanchion bases
- Remove all B&G wires
- Connect fuse box
- See if NKE system works
- Smooth out stb water ballast inspection area
- Clean and reset
- Remove water and Air check for ingress in scoop
- Mark all holes fixes inside
- Make templates for wedges to replace foam
- Grind / sand out all areas to be re painted down below
- Plan chart table boxes, displays
- Remove unused seacocks
- Think thru drinking water and plumbing areas
- Get autopilot service kit
- Drill and epoxy deck lid holes
- Rewire inside
- Paint inside
That’s about good in case I don’t have a plan. 🙌🏻🎄
December 19 – 20
Wires, twisted, similar, buried, camouflaged, hot, bent, corroded…

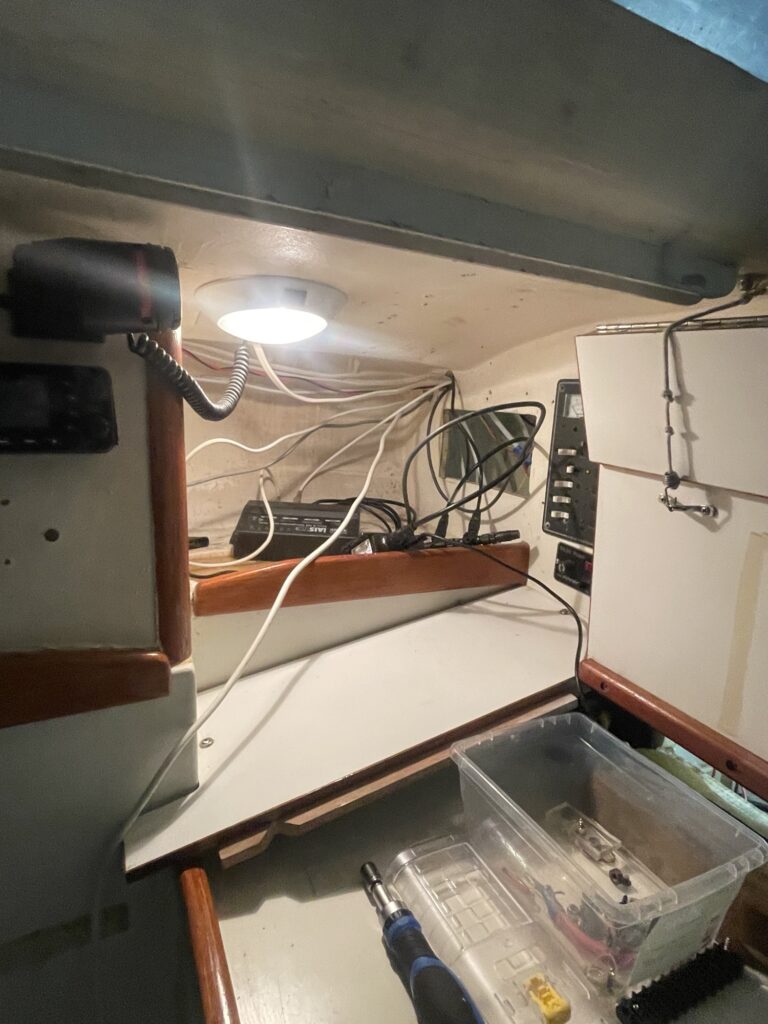
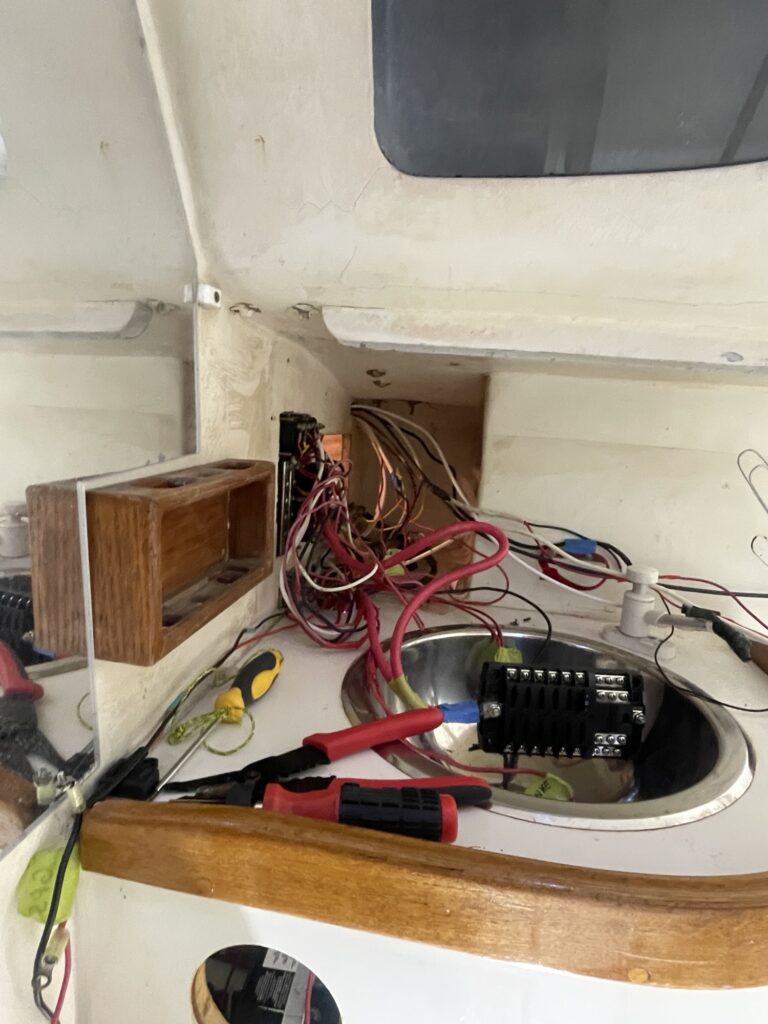
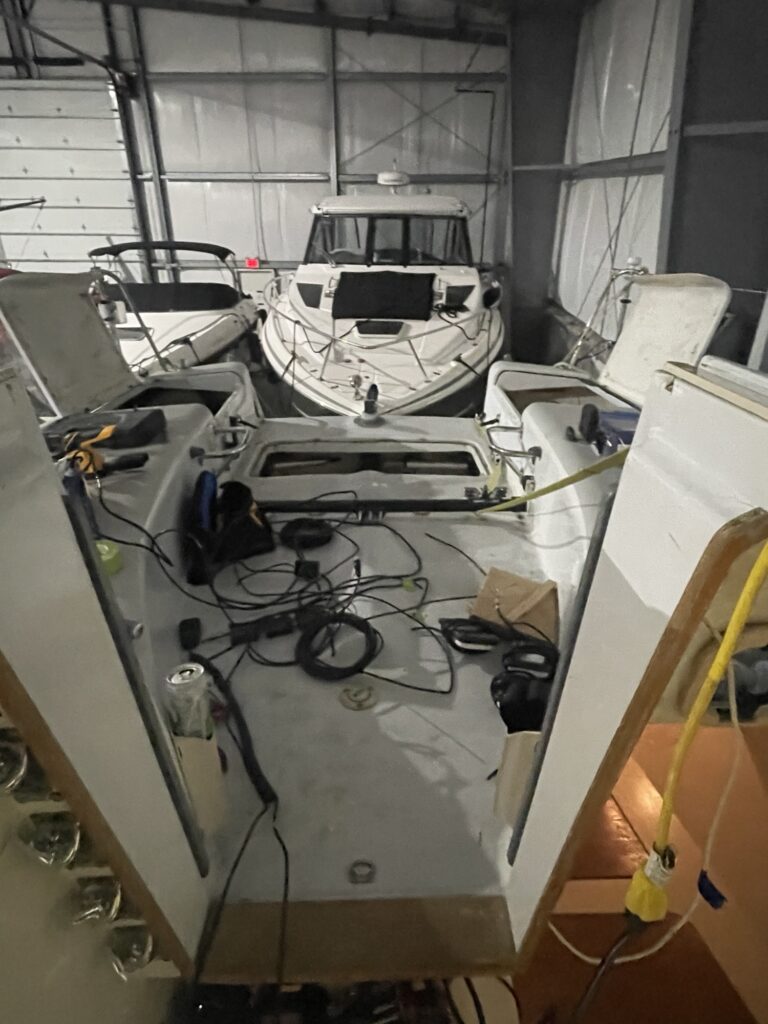
It’s turning into an ‘all in’ situation. Over the past two days I’ve got most of the unused B&G wiring removed. Still need to strip from the head back to the aft and figure out if it’s best to put in a new switch panel for the lights for a full reset.
The second autopilot has been decommissioned and I’ll remove the power and ram units soon. I think I snipped the rudder angle sensor accidentally. Need to see if that line was dedicated to the BG system or if it spoke to the NKE stuff.
Found out 3 stanchions were bent and the life line needs replacing. Probably best.
It’s hard to know where to start as there is a nest everywhere. I think I should keep on the wiring and get every line labeled and run to new switch box with ground bus built in vs exposed bus.
Gonna take a few days off to hand with the fam jam.
January 9, 2025
Happy New Year! I have been off watching YouTube long from fiberglass and wiring videos. I am posting from my phone so too much bother to find links but I have some doozies and need to thank folks for explain stuff so well. I got the lids glasses and gel coated. Just need to install tackle.
Second lid was better as I realized I need to round the corners on the foam core and filet the area as glass doesn’t like 90 degree corners.


Today I removed 5 bulbed lights and starters the process of redoing all the wiring. I also added some holiday vibes!


I am pooped.
January 12, 2025
Ok – at this point she’s as bare bones as she’ll get. Spend the weekend mapping out new wiring and testing if things will work. I am still a bit puzzled as to what exactly a DC to DC converter is but I have one. lol
Today was frustrating a bit as I am at the point where the sightlines to perfection open more efforts, more to learn and a spiral to the extent I might not finish. According to the Pacific Yacht dude who through hours of YT I feel I know, Marine electronics are never perfect yet he also says you shouldn’t compromise. Ahhhhhhh.
To stay sane – I am going to take this week to QA any remaining wiring issues then simply do the best I can with what I have.
The crux is that in order to place the breakers and fuse boxes in ideal locations I need to glass foamcore to fill in the spaces left by years of sloppy bandaid solutions. (No disrespect to anyone – it’s just how things go). I’ll sleep on it and just get stuff done.
That said, I love being on the boat alone fixing stuff. Might as well work out the bugs on land.
From here on in it syntrophy!!


One issue is that although the ideal spot effort wise is in the head, its prime for a douse in heavy weather.
